Introduction: The Revolution of Nail Care
As the popularity of nail art continues to soar, the demand for efficient and convenient nail drying solutions has increased. One of the most innovative tools in the beauty industry is the one finger LED nail lamp. This compact and powerful device is designed to provide salon-quality results at home. In this comprehensive guide, we will explore the various aspects of the one finger LED nail lamp, from its benefits to its usage and maintenance.
The Advantages of Using a One Finger LED Nail Lamp
1. Time-Saving and Efficient
With a one finger LED nail lamp, you can say goodbye to the long waiting times for your nails to dry. This device utilizes LED technology, which ensures rapid and even curing of gel nail polish. Unlike traditional UV lamps, LED lamps do not require a warm-up period and can cure your nails in a matter of seconds.
2. Portability and Convenience
The compact size of the one finger LED nail lamp makes it highly portable and easy to use. Whether you're traveling or simply prefer to do your nails on the go, this device is the perfect companion. Its lightweight design allows you to carry it in your handbag without any hassle.
3. Cost-Effective
Investing in a one finger LED nail lamp can save you money in the long run. By doing your own gel manicures at home, you can avoid the recurring costs of salon visits. Additionally, LED lamps have a longer lifespan compared to UV lamps, reducing the need for frequent replacements.
How to Use a One Finger LED Nail Lamp
1. Preparation
Start by preparing your nails as you would for any manicure. Remove any existing nail polish, shape your nails, and push back your cuticles. Ensure that your nails are clean and dry before proceeding.
2. Apply Gel Polish
Apply a thin layer of gel nail polish to your nails, ensuring complete coverage. Be careful not to apply the polish too close to the cuticles or the skin. If any polish gets on your skin, use a clean brush or cotton swab to remove it before curing.
3. Cure Your Nails
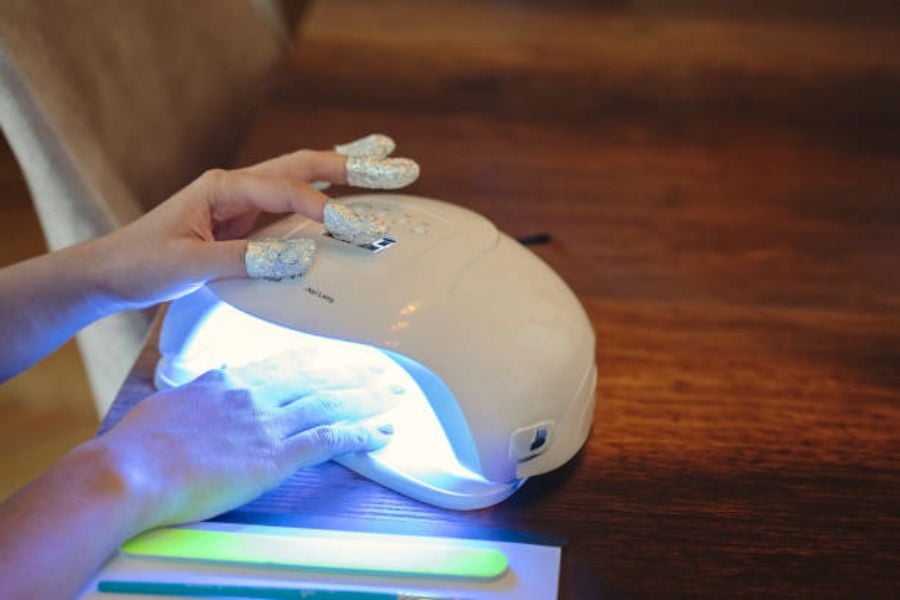
Place your finger inside the one finger LED nail lamp and activate the curing process. Most lamps have a built-in timer, so follow the instructions provided to determine the appropriate curing time. Typically, it takes around 30 seconds to one minute for the gel polish to cure completely.
4. Repeat for Each Finger
Repeat the application and curing process for each finger, ensuring that you give the correct amount of curing time to achieve optimal results. If you're using a lamp with multiple slots, you can cure multiple fingers at once.
Maintaining Your One Finger LED Nail Lamp
1. Cleaning
Regularly clean the surface of your one finger LED nail lamp to ensure optimal performance. Use a soft, lint-free cloth or a cotton pad soaked in rubbing alcohol to wipe away any residue. Avoid using harsh chemicals or abrasive materials that could damage the lamp.
2. Storage
When not in use, store your one finger LED nail lamp in a clean and dry place. Keep it away from direct sunlight, extreme temperatures, and humidity. This will help prolong its lifespan and maintain its effectiveness.
3. Bulb Replacement
LED bulbs have a long lifespan, but they eventually wear out. If you notice a significant decrease in curing efficiency or any flickering lights, it may be time to replace the bulb. Consult the manufacturer's instructions for the correct replacement procedure.
Conclusion: The Perfect Nail Care Companion
The one finger LED nail lamp is a game-changer in the world of nail care. Its time-saving, cost-effective, and portable nature makes it an essential tool for anyone who loves to create beautiful nails. By following the proper usage and maintenance guidelines, you can enjoy salon-quality results in the comfort of your own home. Invest in a one finger LED nail lamp today and elevate your nail care routine to new heights!

