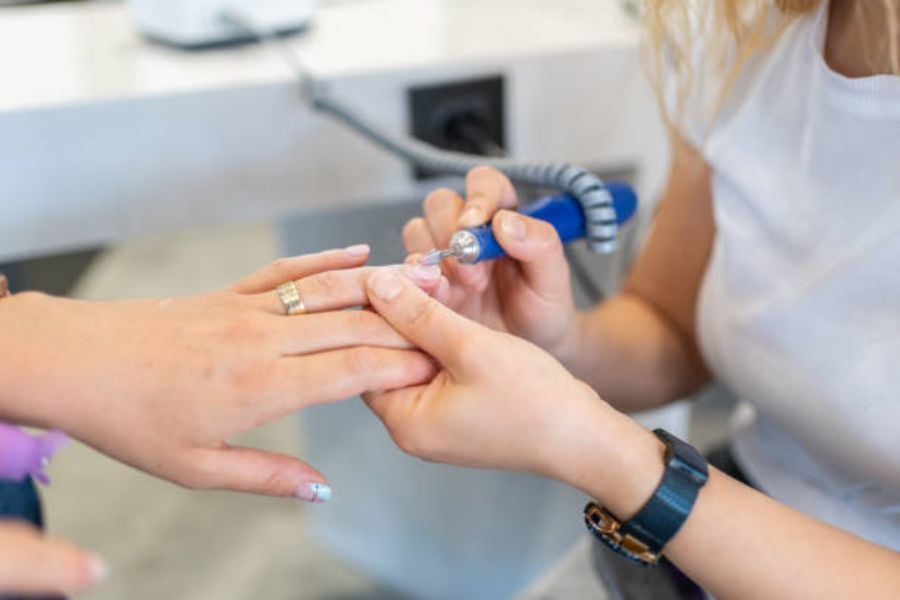
The Importance of Using a Drill to Remove Gel Polish
Gel polish is a popular choice for many people who want long-lasting and chip-free manicures. However, removing gel polish can be a time-consuming and tedious process. One efficient method to remove gel polish is by using a drill. In this article, we will explore the various aspects of using a drill to remove gel polish and why it can be a game-changer for anyone who loves gel manicures.
1. Understanding Gel Polish
Before diving into the process of using a drill to remove gel polish, it is essential to understand what gel polish is. Gel polish is a type of nail polish that is cured under a UV or LED lamp to create a hard and durable finish. Unlike regular nail polish, gel polish lasts longer and is less prone to chipping.
2. Why Use a Drill?
Using a drill to remove gel polish offers several advantages over traditional methods. First and foremost, it saves time and effort. Removing gel polish manually can take a considerable amount of time, especially if the polish is thick or has multiple layers. A drill, on the other hand, can quickly and efficiently remove the gel polish, reducing the overall time spent on the process.
3. Safety Precautions
While using a drill can be a time-saving solution, it is crucial to prioritize safety. Always ensure you are using a quality drill with the appropriate attachments and settings. Additionally, be mindful of the pressure applied and avoid excessive force to prevent damage to the natural nail bed. If you are unsure about using a drill, it is advisable to seek professional help.
4. Choosing the Right Drill Bits
One of the keys to successfully removing gel polish with a drill is selecting the right drill bits. There are various types of drill bits available, each designed for specific purposes. When it comes to gel polish removal, diamond drill bits are highly recommended. These bits are known for their durability and effectiveness in removing gel polish without causing damage to the natural nail.
5. Step-by-Step Guide
Removing gel polish with a drill involves a series of steps. Here's a step-by-step guide to help you navigate the process:
- Prepare your work area by laying down a towel or mat to catch any debris.
- Choose the appropriate drill bit for gel polish removal.
- Start the drill at a low speed and gently glide the drill bit over the gel polish, focusing on one nail at a time.
- Apply light pressure and let the drill do the work. Avoid excessive force to prevent damage to the nail bed.
- Continue working on each nail until the gel polish is completely removed.
- After removing the gel polish, use a buffer or file to smooth out the nails.
- Apply cuticle oil or a nourishing nail treatment to moisturize the nails.
- Finish off with a fresh coat of nail polish or leave the nails bare for a natural look.
- Clean the drill bits thoroughly after each use to maintain their effectiveness.
- Dispose of any debris in a safe and appropriate manner.
6. Benefits of Using a Drill
Using a drill to remove gel polish offers several benefits. Firstly, it saves time and effort, allowing you to achieve salon-quality results in the comfort of your own home. Additionally, a drill provides more control and precision compared to manual methods, ensuring a thorough removal of the gel polish. Lastly, using a drill can also help prevent damage to the natural nails, as it reduces the need for excessive scraping or filing.
7. Alternative Gel Polish Removal Methods
While using a drill is an efficient method, there are alternative ways to remove gel polish. Some popular methods include soaking the nails in acetone, using foil wraps, or using gel polish removal kits. These methods can be effective, but they may require more time and effort compared to using a drill.
8. Maintaining Nail Health
After removing gel polish, it is essential to prioritize nail health. Give your nails a break from gel polish to allow them to breathe and recover. Apply cuticle oil regularly to keep the nails moisturized and healthy. If you notice any signs of nail damage or infection, consult a professional nail technician or a dermatologist.
9. Frequently Asked Questions
Q: Can I use a regular drill for gel polish removal?
A: It is not recommended to use a regular household drill. Opt for a nail drill specifically designed for manicure purposes.
Q: How long does it take to remove gel polish with a drill?
A: The time can vary depending on the number of nails and the thickness of the gel polish. On average, it takes approximately 10-15 minutes to remove gel polish from all nails.
Q: Can I reuse the drill bits?
A: Yes, drill bits can be reused. However, it is essential to clean and sanitize them thoroughly after each use to prevent the spread of bacteria or fungus.
10. Conclusion
Using a drill to remove gel polish is a time-saving and efficient method that can help you achieve salon-quality results at home. By following the proper safety precautions and using the right drill bits, you can remove gel polish effectively without causing damage to your natural nails. Remember to prioritize nail health and give your nails a break between gel manicures. With the right tools and techniques, you can enjoy beautiful and long-lasting gel manicures without the hassle of traditional removal methods.

